How to install composite decking: the complete step-by-step guide
Substrate, joists, centres, expansion gaps, fixings, fall: every step of installing a composite deck, with the six mistakes that ruin the result.
A composite deck that ages badly is almost always a badly installed deck — rarely a badly bought one. The material forgives use, but it does not forgive missing ventilation, forgotten expansion gaps and the wrong fixings.
This guide covers the whole process, from preparing the substrate to finishing the edges.
1. Preparing the substrate
On an existing concrete slab
This is the simplest and most common case. Check three things: the slab is sound (no active structural crack), it is clean (clear of soil and vegetation), and water drains away (no dish where it pools).
The slab does not need to be perfectly level: adjustable pedestals take up the irregularities and set the fall.
On natural ground
Dig out 15 to 20 cm, lay a weed-suppressing geotextile, then 10 cm of compacted gravel. Then set individual concrete pads or pedestals on a gravel bed where the joists will run.
Never lay a substructure directly on soil: permanent damp and vegetation block ventilation and eventually distort the whole thing.
On a roof terrace
A special case that calls for care. The existing waterproofing must not be pierced under any circumstances. Use loose-laid pedestals exclusively, with a spreader pad under each one so that the waterproofing layer is not punctured.
2. Laying the substructure
This is the stage that determines how your deck holds up over ten years.
Which way to run it
Joists are laid at right angles to the direction of the boards. Decide the direction of the boards first — generally along the length of the deck, or at right angles to the façade — then derive the direction of the joists from that.
The centres
| Situation | Centres |
|---|---|
| Ordinary residential use, 22 mm board | 40 – 50 cm |
| Under a spa, a planter, a point load | 30 – 35 cm |
| 45° diagonal layout | 30 – 40 cm |
| Heavy traffic (public buildings, restaurants) | 30 – 35 cm |
The underlying rule is simple: the greater the span between two supports, the more the board deflects. In a diagonal layout, the real span increases by around 40% for the same apparent centres — hence the reduction.
Our composite joists are sized for these centres and share the composition of the boards: substructure and surface age at the same rate.
Ventilation and fall
Two non-negotiable rules:
- 20 mm of clear void minimum under the joists, obtained with pedestals or shims. Never backfill that space.
- 1% fall in the direction of drainage, meaning 1 cm per metre, set by the height of the pedestals.
Keeping it free
Leave 10 to 20 mm between the substructure and any adjacent wall. A structure trapped between two walls cannot expand: it pushes, it cups, and the boards lift.
3. Laying the boards
The expansion gaps
This is the most common mistake, and it cannot be put right once the deck is finished.
| Location | Gap |
|---|---|
| Between two boards (across the width) | 5 mm |
| At board ends (end to end) | 10 mm |
| Against a wall or fixed obstacle | 20 mm minimum |
| Around a post or an inspection cover | 10 mm |
Use calibrated spacers, not your eye. On a deck 5 m wide, a 1 mm error per board adds up to 3.5 cm by the far edge.
Fixing
Two methods, both valid:
Face screwing. A2 stainless fixings (A4 by the sea), two screws per board-to-joist crossing, pre-drilling every time to avoid splitting. It is quick and robust, but the screw heads are visible.
Concealed clips. They slide into the side groove of the board and screw down into the joist. The result is clean, with no visible fixing, and the clip automatically sets the 5 mm gap. This is what we recommend for a domestic deck.
Board ends
Where two boards meet end to end, each must bear on its own joist. Never let two board ends land on a single 40 mm joist: there is not enough material for two fixings, and the joint will eventually work loose.
The answer is to double the joist at every junction line.
4. Finishing the edges
This is what separates a laid deck from a finished one. Without an edge trim, you see the cut ends of the boards, the substructure and sometimes the ground below.
The composite corner trim, an L-shaped 50 × 50 mm angle profile, closes the whole thing off in one piece. Stainless screws every 40 to 50 cm with pre-drilling, 3 mm of gap between two trims end to end.
The six mistakes that ruin a composite deck
Doing away with expansion gaps “because it looks tidier”. The boards lift with the first summer.
Filling in the ventilation void with sand or gravel to “stabilise” it. The deck stays permanently damp and the structure works.
Laying it dead level, with no fall. Water sits in the grooves, the surface clogs, and green deposits form in the shaded spots.
Using zinc-plated fixings. Visible rust within eighteen months under the Moroccan climate, and indelible brown runs down the boards.
Landing two board ends on a single joist. The joint works loose, then creaks, then steps out of line.
Not pre-drilling. The composite splits at the board end, and the defect shows all the way along the edge.
How long, and with how many people
For a rectangular 30 m² deck on a flat concrete slab, allow two to three days with two people: a day for the substructure, one to two days for the boards and the trims.
A sloping site needing pedestals at widely varying heights, or a deck with complex geometry and a pool surround, can easily double that.
We do not install, but we prepare your project
DECNO is a distributor: our trade is the product, the advice and the supply. What we do provide is the setting-out drawings, the exact quantities — boards, joists, clips, trims — and the matching technical notes for your fitter. And we point you towards installers whose work we know.
That is often what heads off the expensive mistake: a correct take-off at the start, and a clear layout drawing for whoever is holding the driver.
From the theory to the site
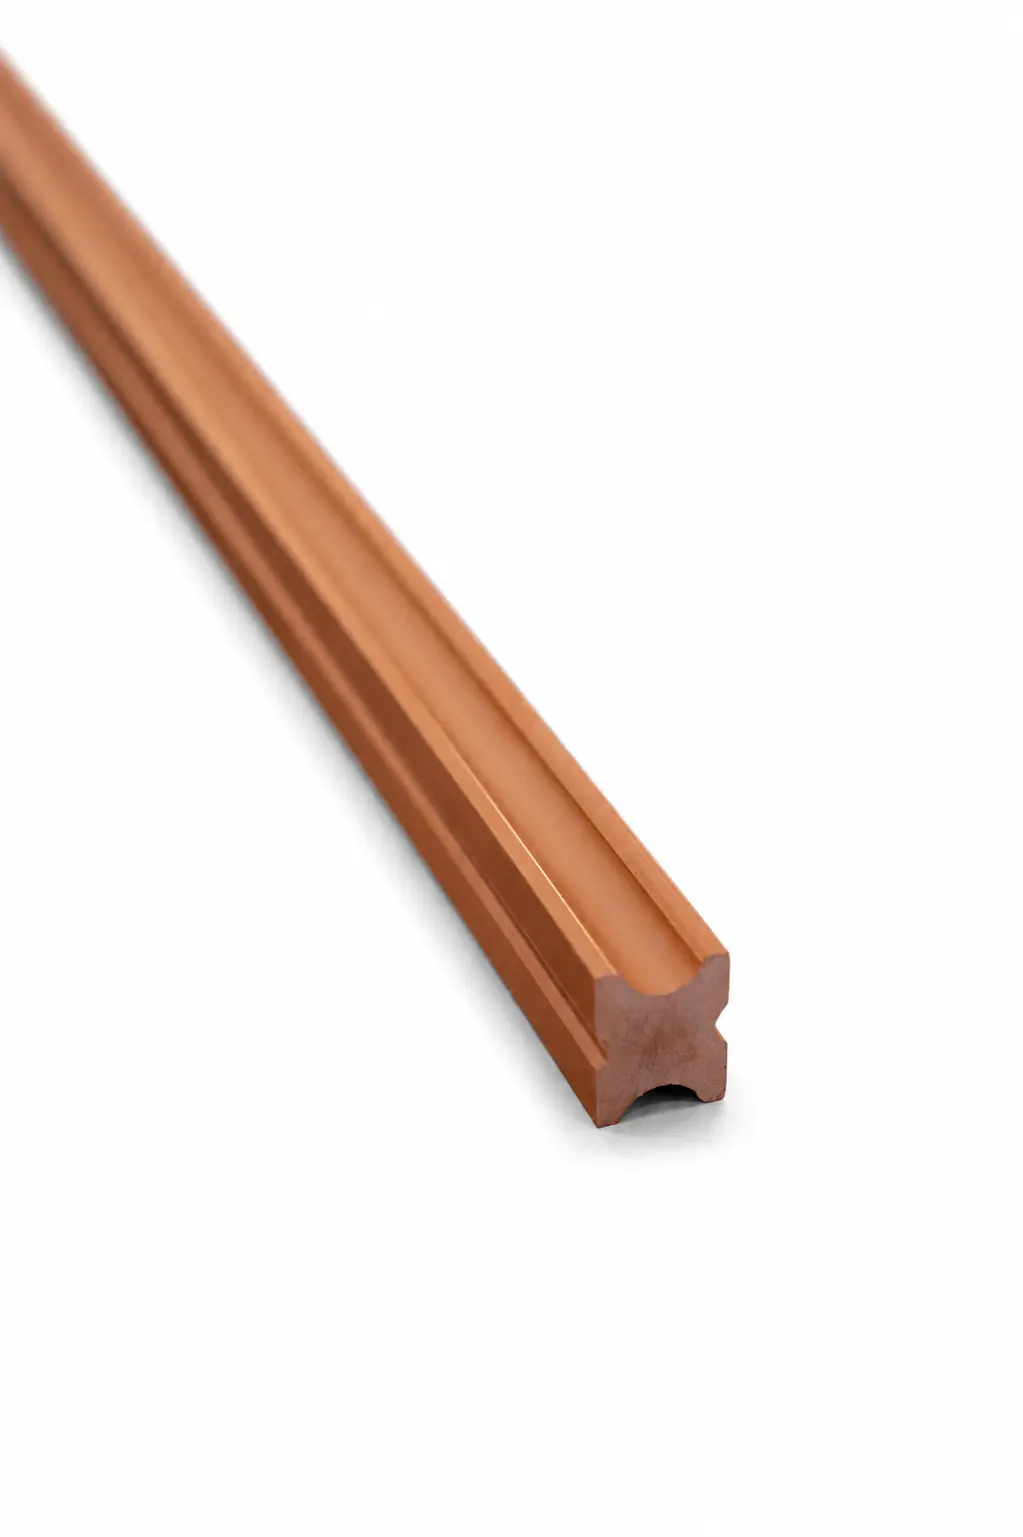 3100 × 40 × 30 mm
 Joists & accessories
WPC Decking Joist, Teak Brown — 3100 × 40 × 30 mm | DECNO Decking Substructure
3100 × 140 × 22 mm Composite decking boards
Double-Sided Composite Decking Board — Teak-G
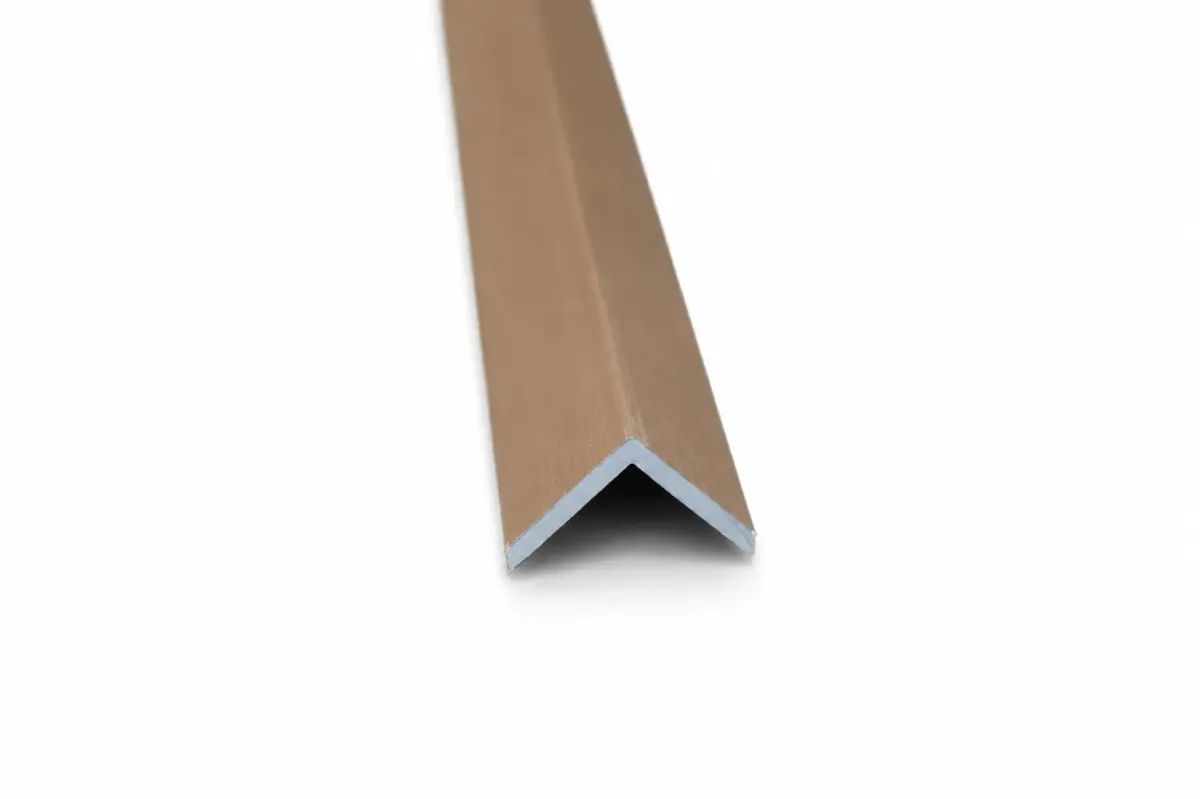 2900 × 50 × 50 mm
 Corner trims
Walnut Corner Trim — L-Profile Composite Angle
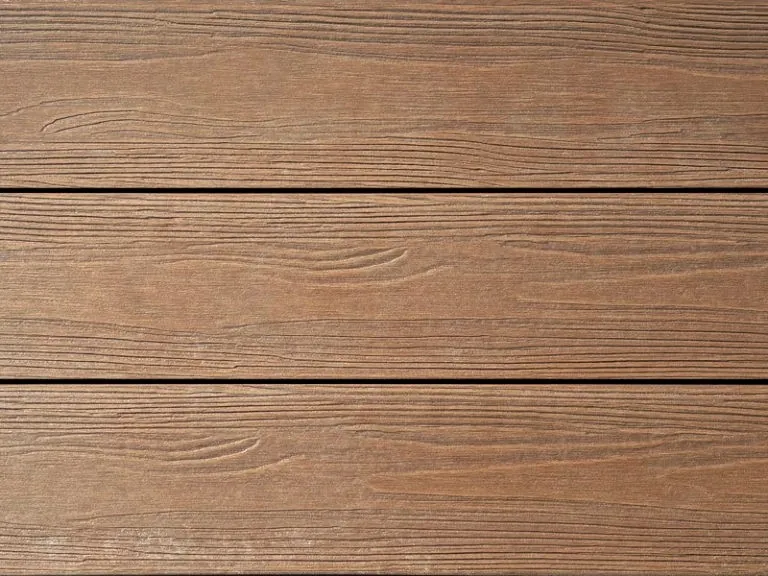 3100 × 140 × 22 mm
 Composite decking boards